
Here's the laundry room, right off the kitchen. It leads to the backyard, and hence the pool.


And then there are the stairs in the entry... oh boy, they needed some help, don't you agree??


I did my best...


There was this lovely bathroom at the top of the stairs.

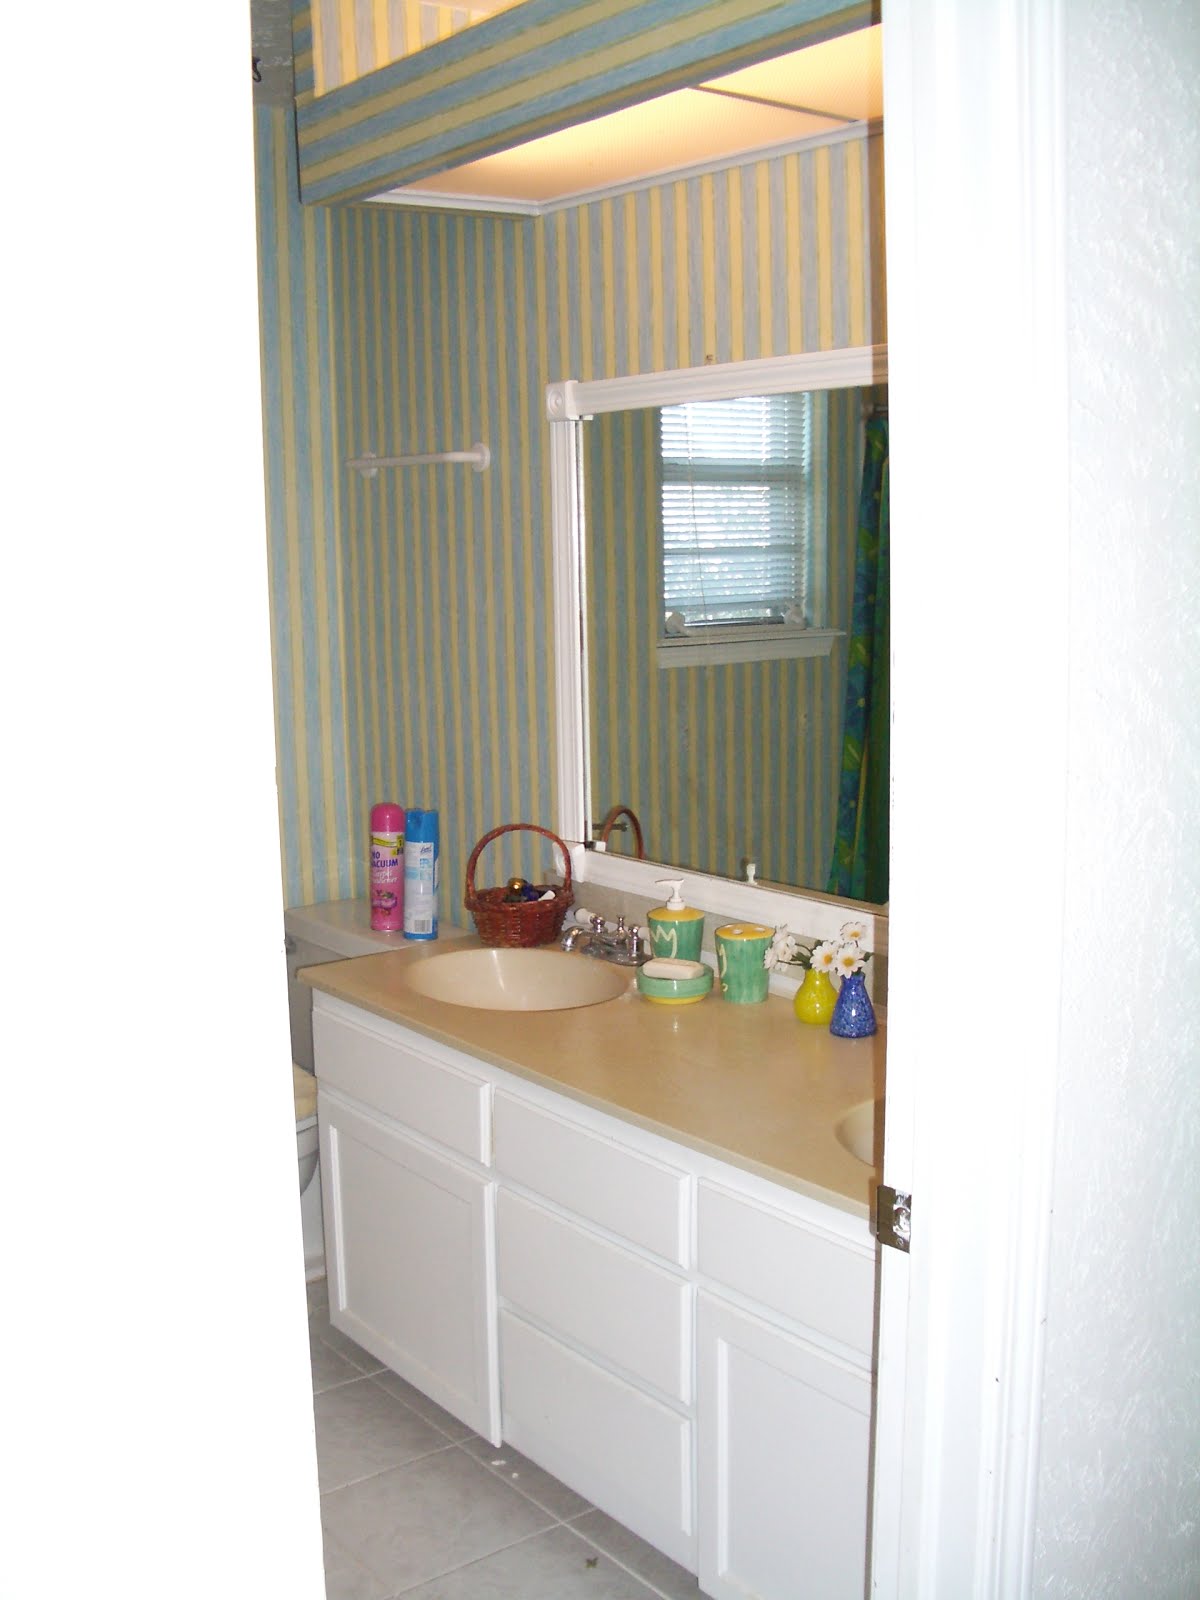
That we did our best to fix up without breaking the bank...

And then there were our kids rooms. For some reason I can't find pictures of the girls room. Poop. It was darling, too. But my son's room started out like this. There will be more on the furniture you see later...


The fabulous Amy Laubach painted that mural on the wall. And we paid a carpenter to build that bed right there in the room. It was the coolest freakin' thing ever. EXCEPT when you had to make that bed. And then it sucked.
Moving on, upstairs, the guest bedroom must have been the previous owner's cat retreat, because it smelled like a cat had taken up a competition on who could make the smelliest box ever in there. Although we never saw a litter box. Which made things even more disturbing and hard to eradicate.


And here it was in it's post apocolyptic stinkiness. Smelling sweet, I might add.


And then there was a precious little bathroom upstairs... Tucked into the attic practically.

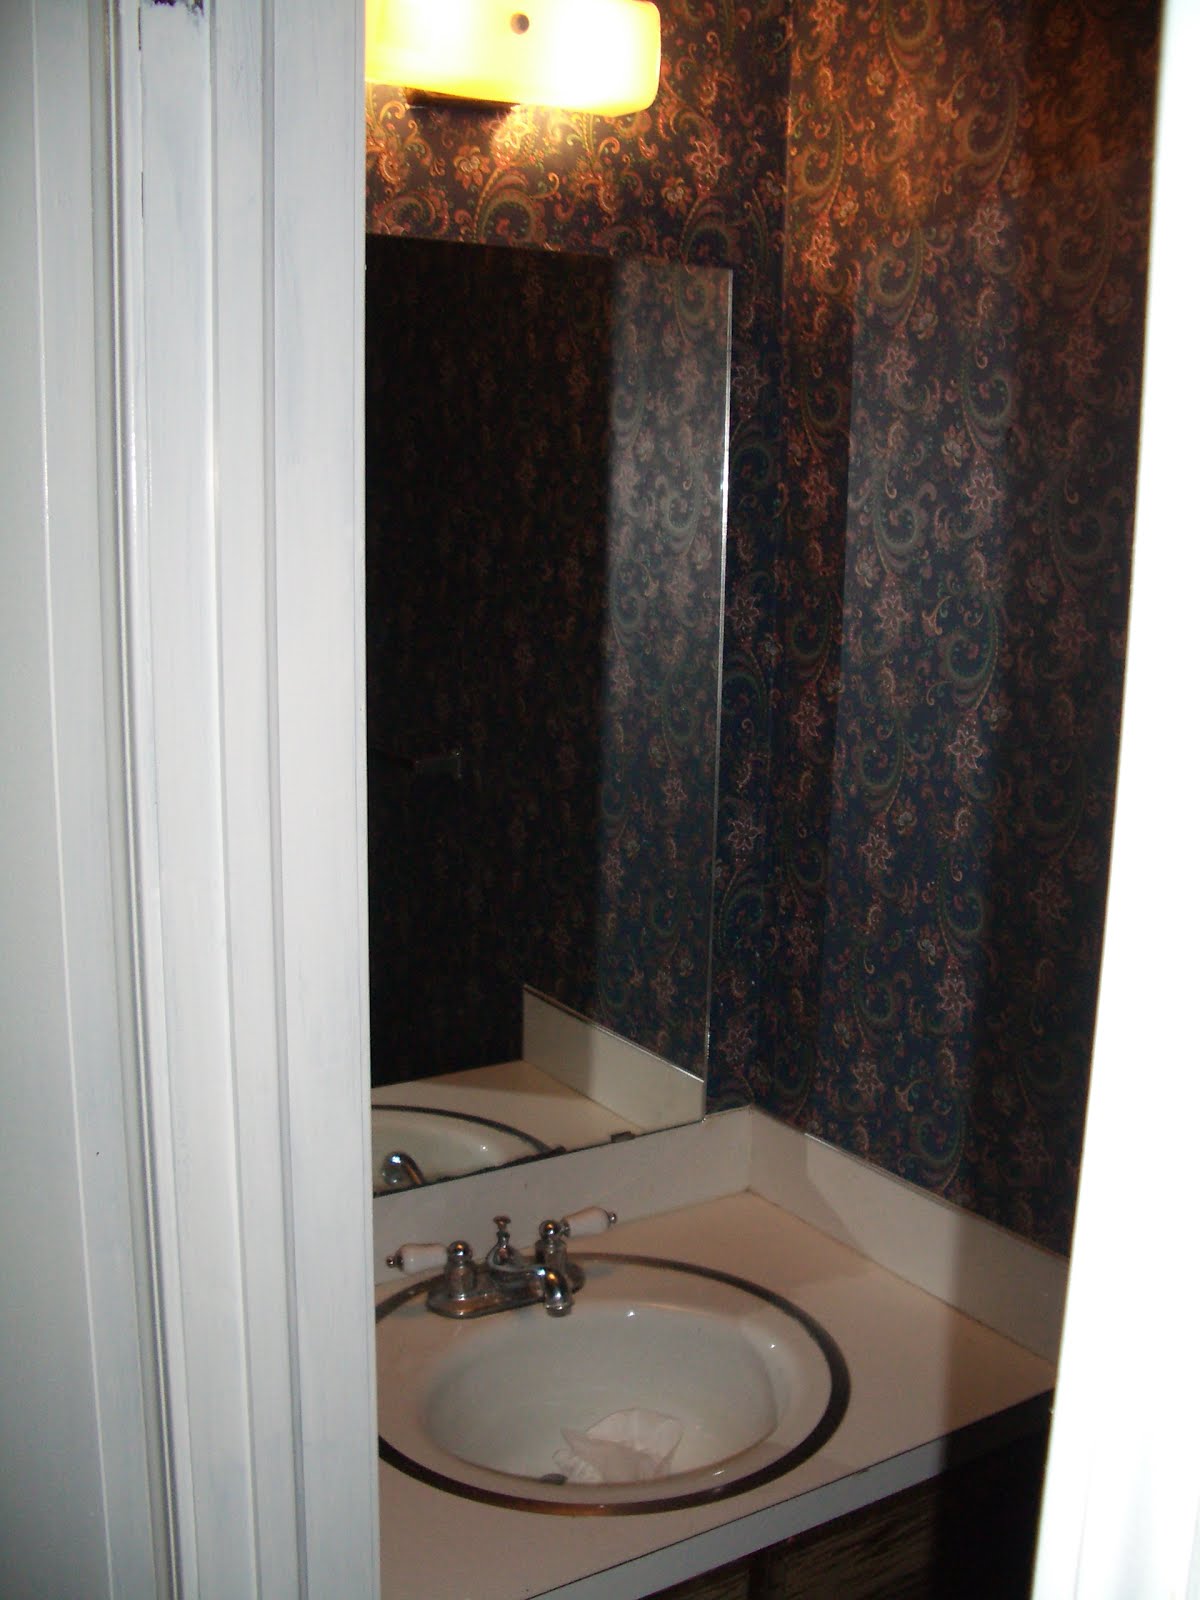
And we lightened it up.

The last room upstairs was a bonus room of sorts, above the garage. It's potential was never quite realized by our family. Because by then, let's be honest, we were out of money and oomph. But we changed the carpet and painted it and made it a clean, quiet space for the kids to play and make a mess.


Why, yes! That IS two-toned carpet in there! :)
Aaaaaand, there isn't an after picture to be had. But imagine it, dear reader. It was nice.
And last but not least, quite possibly my favorite room in that house. There was a bathroom off the kitchen downstairs that was ugly. And I mean UGLY. And that was the place where all our guests used the restroom and you went when you came in from the pool. Well the year before we bought and remodeled this house we went to an Art Fair and bought our very first piece of actual art. It's a painting of The Mont, here in Norman. We love it!! And the artist who made that painting had given us a tile of each of his other pieces. We used those tiles to create a unique bathroom that is fun to look around. And that is what I present to you now, last, but certainly not least.
BEFORE:


AFTER:

And this sweet little niche? It was my happy place, under the stairs, where I would hide. And create. And sit still.

*A final note on this sweet house... All the before pictures you have seen here are the house AFTER we purchased it. So all that furniture in the bedrooms? Left for us. All the food in the kitchen cabinets we tore out? Ours. All the clothes hanging in the closets? Sent out to that clothes heaven in the sky. We literally spent an entire dumpster, just throwing away trash, and whatever furniture we couldn't give away or keep. So when I say we invested blood, sweat, and tears into that home? I mean it. I only hope that future owners of that precious place will enjoy it for years to come. :)
Hi, I am wondering about the facing/wainscotting you put around the tub. We have a corner tub too but also dark green tiles. I like the solution you used but I have a question. I see in the before picture you have framed the edges/corners. I would like a little more info on how you did that. Our tub has a vinyl finishing border where the flat top of the tub deck and the sides are. And along the vertical corners there are also "trim" pieces. Did you have a similar set up? Did you remove it? Did you remove the tiles on the sides of the tub. Thanks for any guidance you can give.
ReplyDeleteHi, I am wondering about the facing/wainscotting you put around the tub. We have a corner tub too but also dark green tiles. I like the solution you used but I have a question. I see in the before picture you have framed the edges/corners. I would like a little more info on how you did that. Our tub has a vinyl finishing border where the flat top of the tub deck and the sides are. And along the vertical corners there are also "trim" pieces. Did you have a similar set up? Did you remove it? Did you remove the tiles on the sides of the tub. Thanks for any guidance you can give.
ReplyDelete